
Spending hundreds of dollars on expensive anti aging face creams is really not the way to go. In fact, the best thing for your skin is to use natural and simple ingredients that are found in nature. This DIY anti aging face cream recipe does just that – uses simple and natural ingredients that are actually good for your skin. No synthetic ingredients, fragrances, or other chemicals here – just mother nature’s awesome power of healing.
We are huge advocates of making your own beauty products, and this is because it just makes sense. The things we find in nature are, naturally, better for our skin. Plant derived oils can be your skin’s best friend and help reverse years of damage and aging. No need for these oils to contain any other ingredients – the less ingredients, the better. This DIY anti aging face cream recipe is super easy to make and will cost you a fraction of what a commercial product would cost you.
Plus, you get the added benefit of having a product that actually works. Commercial face creams are packed full of unnecessary ingredients which actually dilute the good ingredients, and more often than not, do not do what they promise.
The Benefits of a DIY Face Cream
For this particular recipe, we’ll be using almond oil, hemp seed oil, beeswax, vitamin E oil, and shea butter. You can also add a few drops of your favorite essential oil for fragrance.
Almond oil is a natural emollient, which means that it will help to make your skin softer. It helps to improve the skin’s texture and complexion. Medicinally, it has been used to help treat eczema, psoriasis, and scarring.
Hemp seed oil moisturizes dry skin without clogging pores and helps fight the early signs of aging. It also helps to balance out the skin’s oil production, making it perfect for those with oily prone skin.
Vitamin E oil is a powerful ingredient because it helps to reduce hyperpigmentation, wrinkles, and fine lines. It also gives skin a beautiful, natural glow all while moisturizing.
Shea butter and beeswax both have anti-inflammatory properties and help to soothe dry, irritated skin. Additionally, beeswax is here to help turn this DIY anti aging face cream recipe from oil to cream!
Essential oils add a pleasant and soothing scent to your cream, but some, like tea tree oil, can also do double duty by fighting and preventing acne.
Ingredients:
- 1/4 cup almond oil
- 2 tbsp hemp seed oil
- 2 tbsp beeswax
- 1 tbsp shea butter
- 1/2 tsp vitamin E oil
- a drop or two of your favorite essential oil
Directions:
- Add all of the ingredients to a clean glass jar.
- Bring a pot of water to a simmer. The pot should be filled with about 3-4 inches of water.
- Place the jar (without the lid) into the pot of simmering water and gently stir until all ingredients have melted.
- Once melted, carefully take the jar out and pour the contents into a smaller glass jar.
- Allow to harden at room temperature. Once hardened, close the jar and store in a cool, dry place.
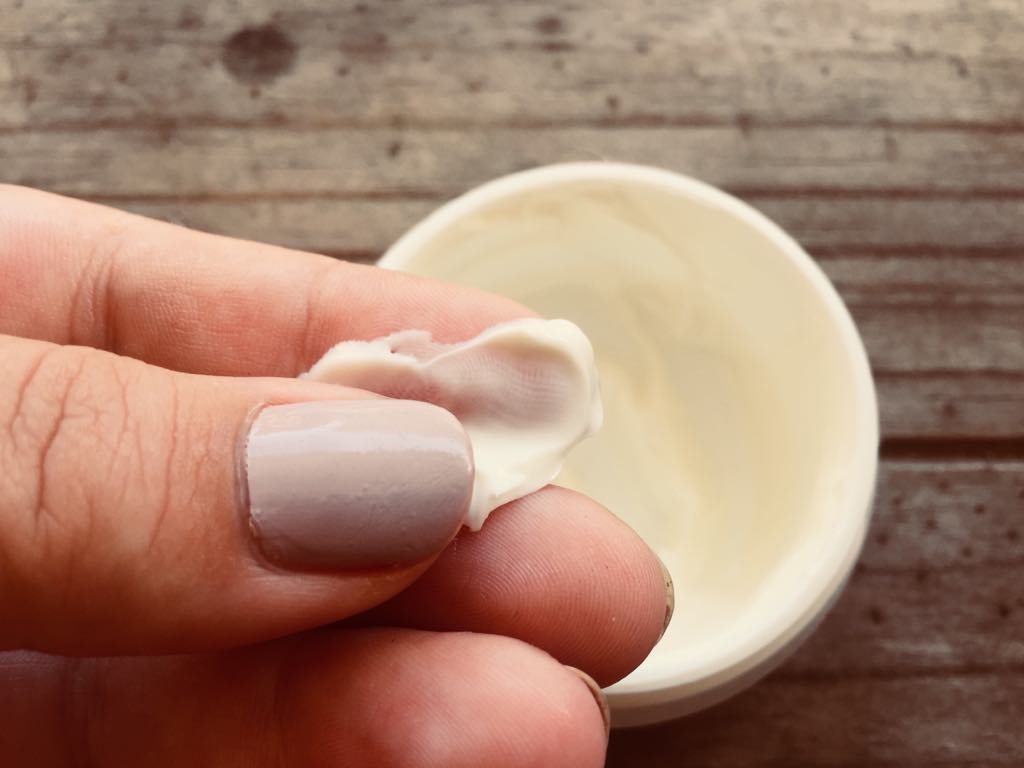
- Apply the cream morning and night on cleansed skin. If you’re using any serums, be sure to apply the cream last.
DIY Anti Aging Face Cream Recipe
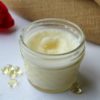
This anti aging face cream uses all natural ingredients to leave your skin feeling soft, all the while helping to treat and prevent the signs of aging.
- 1/4 cup almond oil
- 2 tbsp hemp seed oil
- 2 tbsp beeswax
- 1 tbsp shea butter
- 1/2 tsp vitamin E oil
- 1-2 drops essential oil (optional)
Add all of the ingredients to a clean glass jar.
Bring a pot of water to a simmer. The pot should be filled with about 3-4 inches of water.
Place the jar (without the lid) into the pot of simmering water and gently stir until all ingredients have melted.
Once melted, carefully take the jar out and pour the contents into a smaller glass jar.
Allow to harden at room temperature. Once hardened, close the jar and store in a cool, dry place.
Apply the cream morning and night on cleansed skin. If you're using any serums, be sure to apply the cream last.