
If there is one thing that I hate more than anything is doing my nails. I am downright horrible at it, not to mention that I can’t upkeep them for the life of me. That’s why I never really bother with my nails that much, especially since I’m an avid nail bitter. I know it’s embarrassing, but I’m trying my best not to do that anymore. So far, I’m having little luck but it’s hard!
DIY Manicure
That’s why I was super excited when I read an article in Glow Magazine (Canadian) about do-it-yourself manicures. It’s always something I’ve never been good at, but this article helped me make the best of my nails without going to the salon. So I got professional results, without spending any of my hard earned cash! Here’s how to get that perfect DIY manicure- and all the tools you need with it!
Before starting, make sure you have these tools handy with you!
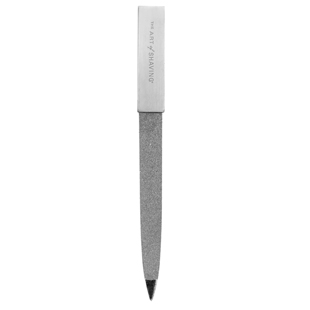
FOR SHAPING YOUR NAILS
You can use either an emery board or a stainless steel file to shape your nails. Emery boards are more popular because they’re cheap, but a steel file is better since you can file your nails in any direction you want without the fear of breaking your nails.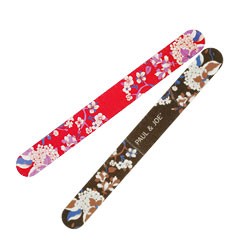
FOR YOUR CUTICLES
Now the cuticles are the worst part for me because I just can’t get myself to push them back. It freaks me out for some reason. But I tried using orangewood sticks and they actually work pretty good. You can also use them to clean under your nails. Use them to push back your cuticles and remove any excess nail polish that is left on the skin. I’d been using metal pushers (so gross), and found that they hurt my skin and sometimes scrapped it too, so stay away from those! 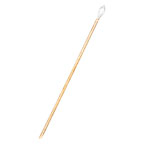
FOR BUFFING
Nail buffers are amazing because they do so many things at once. They remove nail ridges and cuticles while providing some shine as well. The multi-use buffers are the best because you get different uses out of it, such as the six-way nail buffer! 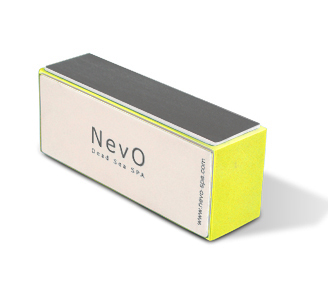
Now that you’ve got all your products to work with, we can finally get started on the DIY mani! Ready? Follow my lead!
STEP 1: FILING!
Start off with clean hands and polish-free nails. File your nails down at least one-eighth of an inch. Filing your nails on a regular basis will make them stronger, grow faster, and resist breakage. Try not to change directions while you file your nails, unless you’re using a stainless steel file. If you use an emery board, keep the filing going in one direction only to keep the nail from tearing and breaking. For the best look, keep your nails just above your fingertips!
STEP 2: TIDY UP!
Cuticle are an extremely important part of a manicure. Start by applying a cuticle remover to your nail beds and soak your fingertips in warm, soapy water for 10 minutes. Take that orangewood stick and wrap a little bit of cotton at the tip. Now gently start to push back your cuticles. You can even use your fingernail to do this if you don’t have a stick!
STEP 3: BUFF!
To get rid of nail ridges, use a good buffer over your nail surface. A buffer is also excellent in removing any leftover traces of dirt or polish on your fingernail. It will also reduce the yellowing from the polish. For best results, avoid buffing more than once a week, which can weaken the nail plate.
STEP 4: CLEANSE!
To make sure that your nails are in tip-top shape, start off with a clean surface. Dab a cotton ball with some nail polish remover to get rid of any excess oils or residue that is left on the nail. Use an acetone-free formula since it won’t dry out the nail plate like pure acetone would.
STEP 5: POLISH!
Now that you’re at the last step, it’s time for the polish to go on! It’s hard to stay in the lines I know, but don’t worry by the end, you’ll have a professional looking mani! Start by applying a basecoat to protect the nail from the polish and to provide a flat surface to work on. Apply three strokes of polish- one in the middle, and two along the sides, which will ensure full coverage of the nail. For each nail, dip the brush into the polish and remove excess liquid from the opposite side to avoid overload. If you make any mistakes, make sure you have a cotton swab dipped in nail polish remover handy. Then all you have to do is trace along the mistake so you don’t have to ruin your progress! Finish off with a topcoat for that glossy finish.
To see more posts like this one, check out our Nail Section!
[…] DIY Manicure […]
[…] DIY Manicure […]
Thanks! I love this, but I have a really hard time doing the cuticles. Just the word makes me cringe. :@) Thanks!