
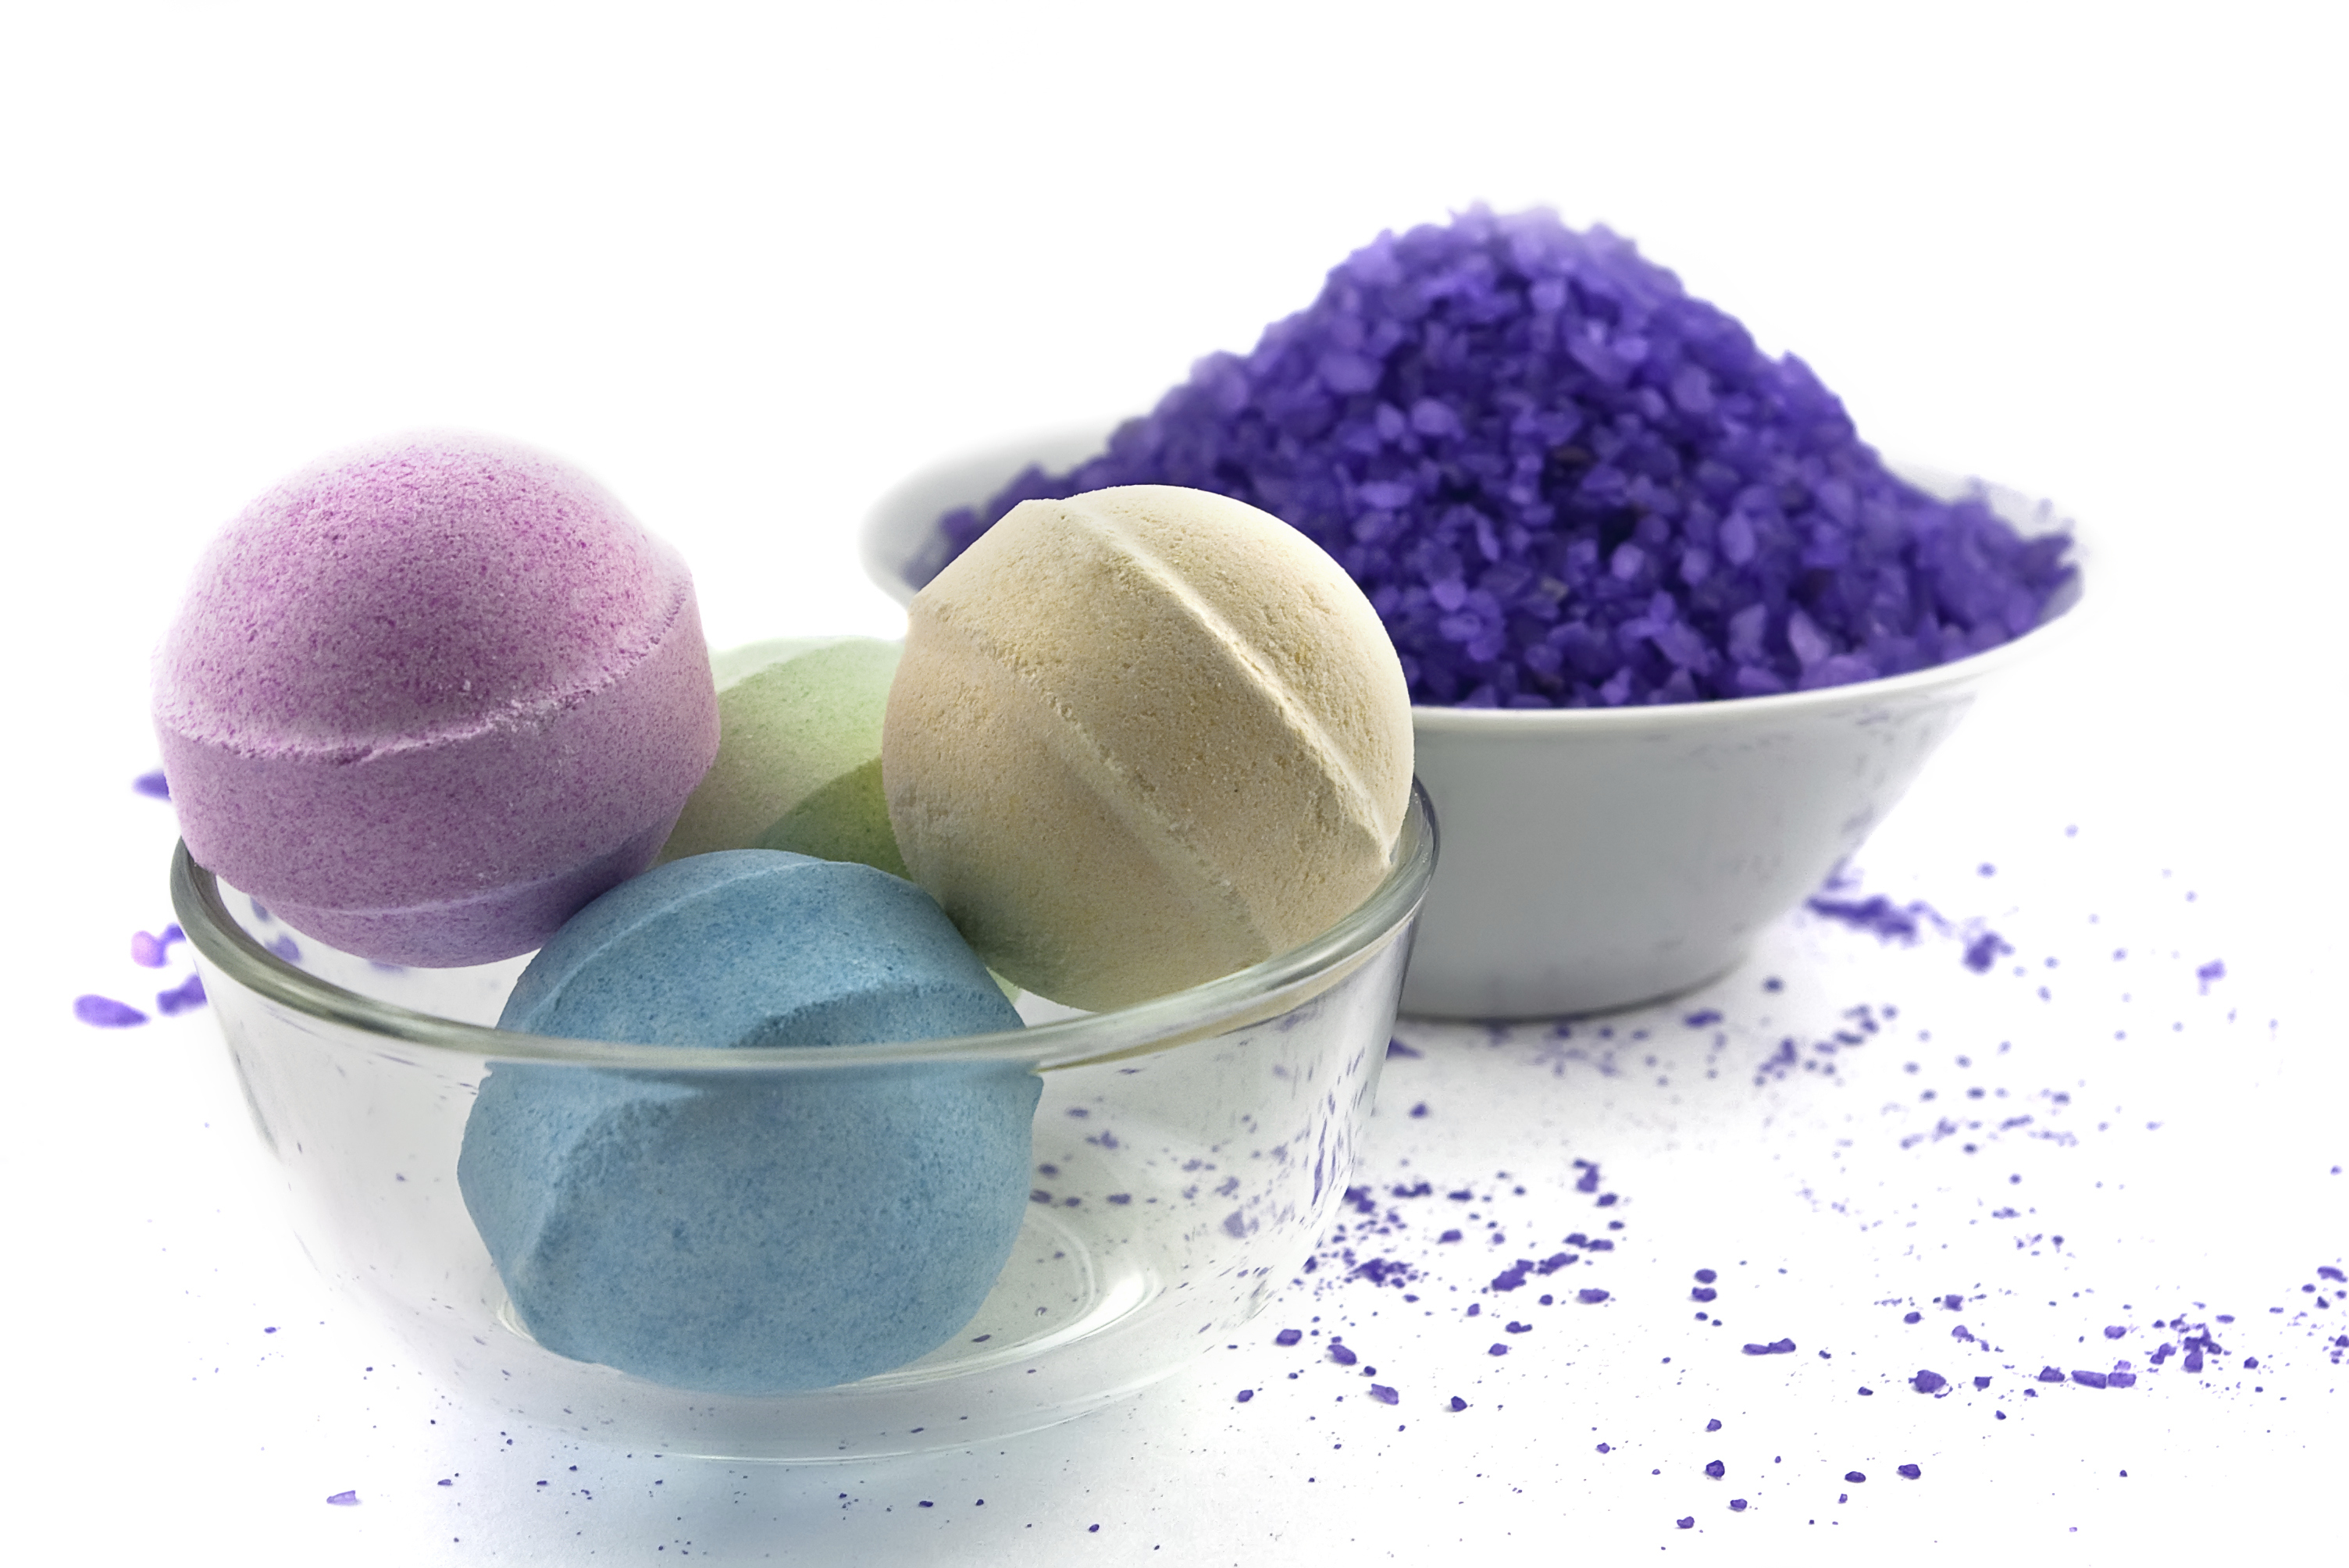
Is there anything more luxurious than dropping a bath bomb into your bath? No, there simply isn’t! Bath bombs are not only fun, colorful, and exciting, but they’re also really good for your skin. Soaking in a hot/warm bath will soften your skin, but the added bonus of a bath bomb will remove dead skin cells, hydrate, and remove toxins from the skin. Unfortunately, they can be a little pricey and they last for like 30 seconds, right? Making your own bath bombs though is soo cheap and easy, that it had me wondering: “why the hell have I been buying bath bombs when I can make them myself?” And so I went on a journey to find the BEST DIY bath bombs and I got to work. The results? Ah freaking mazing! Seriously guys, you could make these in your sleep – they’re just THAT easy to make. And the cost? Well let’s just say it doesn’t even compare.
Easy DIY Bath Bombs Recipe
Ingredients:
- 8 oz. of baking soda
- four oz. of citric acid
- 4 oz. of corn starch
- 4 oz. of Epsom salts(make sure these are fine grained)
- ¾ tsp. of water
- 2 tsp. essential oil (lavender, lemon, etc – your choice)
- 2.5 tsp. almond oil (optional)
- A few drops of food coloring
- Round, plastic, snap together dome molds
- Whisk
- Bowl and cup for mixing
- Fluffy towel
Directions:
- Mix all of your dry ingredients in a large bowl and whisk together.
- Mix all of your wet ingredients in a cup and stir well.
- Place the wet ingredients mixture into the dry ingredients bowl and stir well.
- Pour your mixture into the molds. Pour mixture into one half, packing very lightly, then pour mixture into the other half of the mold, packing lightly once again.
- Press your two halves together! Add a little more mix on top of the second half of the mold and squeeze firmly to create your sphere. If you see the mixture isn’t packing in well, take it out and mix in a small amount of water. Be careful though – too much water and your mixture could get ruined so just add a very small amount at a time until satisfactory.
- Let them dry! Wait just a few minutes,then carefully remove your bath bomb from the mold. Place them on wax paper on top of a fluffy towel. Let them dry at least one day before you use them. To store them, keep them in an airtight container.
These bath bombs are not only great for you, but also make amazing gifts. Simply wrap your bath bombs in cellophane or tissue paper and you’re good to go!
So get your ingredients and start making some bath bombs! Don’t forget to share 🙂