
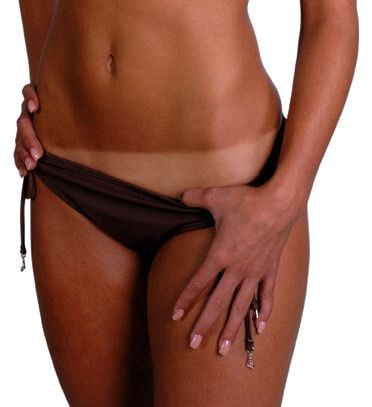
If you love having a year round tan, you’re going to LOVE these DIY self tanner recipes! Unlike store bought self tanners, these DIY self tanner recipes are much healthier for your skin as they contain 100% natural ingredients and won’t leave your skin orange. Many commercial tanning products also contain alcohols which can dry out the skin as well as irritate sensitive skin.
Using a DIY tanning lotion also reduces your risk of skin cancer as you’re not spending as much time in the sun (or at least we hope you wouldn’t be!). For sun kissed skin, we always advise sunless tanning over actual tanning! A fake tan can be JUST as great as a real tan, especially if you use any of these DIY self tanner recipes!
DIY Self Tanner Recipes
Benefits:
- No orange spots or weird streaks.
- You can customize the color just by changing the recipe up a little!
- Super cheap to make and will save you hundreds of dollars a year.
- No harsh chemicals or alcohols.
#1. Cocoa Powder Sunless Tanning Lotion
You’ll Need:
- Unscented white lotion
- 100% pure cocoa powder
Directions:
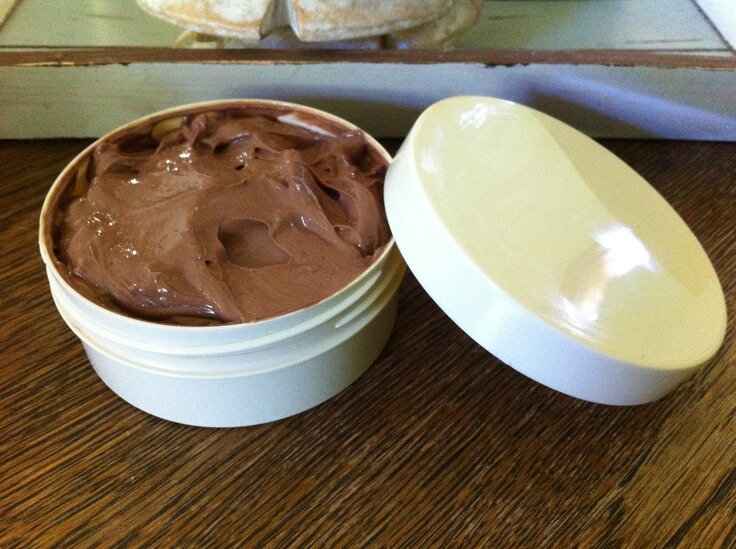
- Start out by mixing 1/2 cup of the unscented white lotion with about 1/3 cup of pure cocoa powder.
- Mix well with a fork until all lumps are gone.
- Keep in mind that the lotion will appear darker in the bowl than on your skin.
- If you’d like a darker color, add a little bit more cocoa powder.
- For a lighter color, add a little bit more lotion.
- Store in a clean jar or container.
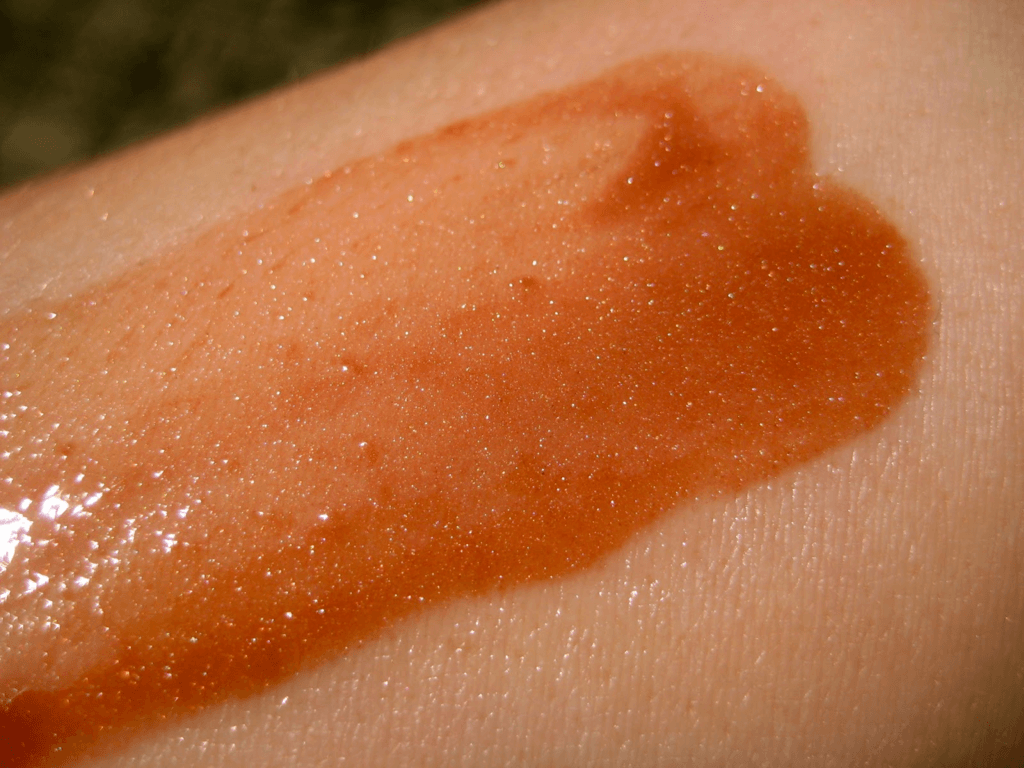
Using the DIY Self Tanner:
- Exfoliate face and body 2-3 times a week for best results. Removing the dead skin cells that chill on the top layer of your skin will ensure a more even tan.
- Rub the self tanner on dry skin, making sure to cover all areas. You will be able to see the tanner as you’re applying it.
- Wait 3-5 minutes for it to dry.
- Apply as often as needed.
The self tanner will leave your skin silky smooth and 2-3 shades darker than before. Be careful though! Since this does not contain any alcohols or preservatives, it won’t last as long as store bought self tanners, so you may need to reapply more often depending on how often you shower!
#2. DIY Carrot Sunless Tanning Oil
This carrot tanning oil is easy to make, but the best part of it is that it’ll leave less streaks because it’s an oil. This recipe makes about one gallon of carrot tanning oil.
You’ll Need:
- 3/4 gallon of water
- 1 pound carrot – unpeeled
- 2 cups brown sugar
- 1/4 cup coconut oil
Directions:
- Bring the water to a boil.
- Rinse the carrots really well and then cut them into thin slices.
- To the water, add the sliced carrots, brown sugar and coconut oil.
- Reduce heat, and simmer on low for about 3 hours.
- Remove from heat, and let the oil cool.
- Pour the oil through a strainer to remove any clumps.
- Pour the oil into a spray bottle.
- Spray onto freshly cleansed skin once a week.
- For best results, apply a little pressure to the carrots when straying to get the most oil out.
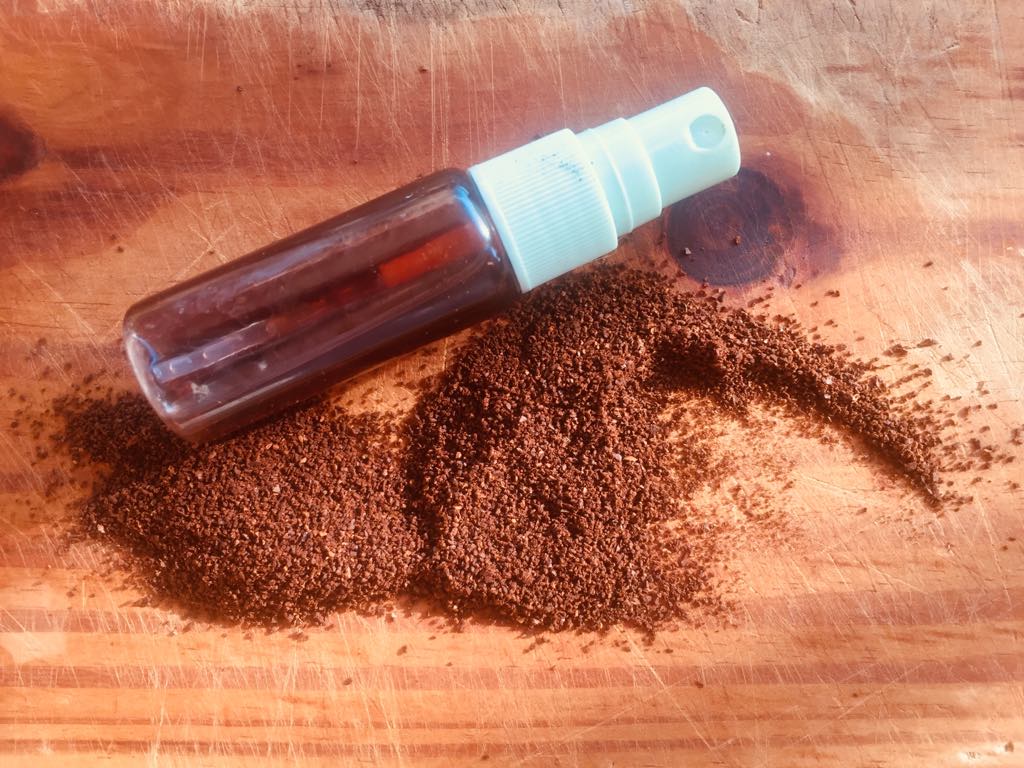
#3. Tea or Coffee Self Tanner
For this recipe, you can choose to use either tea or coffee. Both tea and coffee can stain the skin (just as they can stain your teeth), but just make sure you don’t use the decaffeinated versions. The caffeine in tea and coffee can also help to reduce the appearance of wrinkles and cellulite.
You’ll Need:
- Coffee grounds OR tea bags (we prefer black tea)
- Unscented white lotion
Directions:
- Make coffee or tea just as you normally would. You can also use instant coffee.
- If you’re using coffee, use enough grounds for an entire pot, but only enough water for one cup.
- If you’re using tea, use about 3-4 tea bags to make a gallon of tea, but only one cup of water.
- Let the coffee or tea cool and then mix in enough lotion to create your desired color.
- Pour the mixture into a spray bottle and spray onto clean skin.
- Be sure to shake well before each use and use once a week.
- You can also leave the lotion out completely, and just use brewed tea or coffee.
How to Use a Self Tanner
One of the most important things to know when using a self tanner is the exfoliate the skin. Exfoliating your skin on a regular basis ensures that you remove the dead skin cells that sit atop the skin. Not exfoliating and then using a self tanner can cause streaks and uneven application. Exfoliating is quick, easy, and cheap. Check out how to make sugar scrubs at home to get the most out of your DIY self tanner recipes. Alternatively, you can also use salt scrubs which are just as good as sugar scrubs, but are to be used on rougher areas such as knees, elbows, and shoulders. Regular exfoliation not only smooths and preps the skin, but also encourages good blood flow and circulation.
After you’ve exfoliated, make sure to rinse the scrub off completely. Then, use a towel to dry your skin very well. Never apply self tanner to moist skin. Once skin is dry, you can go ahead and apply your desired self tanner. You can do this by using a mitt or clean sponge. If you use your hands, make sure to wash them really well with soap and water afterwards to avoid staining.
Rub the self tanner into the skin using circular motions, and make sure that there are no streaks. Finally, allow the self tanner to air dry for a few minutes. This means that you should avoid putting your clothes on until the self tanner is completely dry, otherwise you’ll risk staining your clothing.
If you like this post, don’t forget to share 🙂
Just wondering if anyone has tried this & if its easily removed
Hi there!
The DIY self tanner only contains white lotion and cocoa powder and therefore is removed very easily! Simply use a loofah in the shower to remove the tanner and then re-apply as often as needed 🙂
Which one is the least streakiest? I want one I can put on my face, but don’t want it to look orange and streaky, thanks!
Hi LadyB,
I personally prefer the cocoa powder one, especially for the face, because you can put as much or as little as you want, and end up making a tinted moisturizer. They’re all very easily removable, so try a few of them to see which one works best for your complexion and let us know how it went 🙂