
Hair lamination, or also known as the gelatin hair mask, has been around for a few years now, and it’s basically the same concept as paper lamination: to apply a protective layer and add gloss.
This DIY hair lamination mask does the exact same thing: it adds a protective layer to the hair, adding mega shine, softness, and overall healthier strands. Hair lamination at home is easy to do, cheap, and it actually works too!
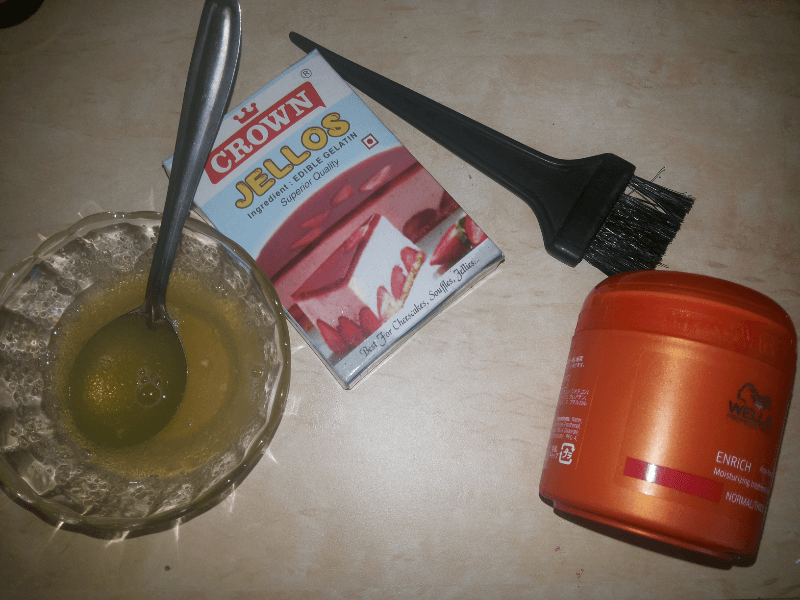
Most hair lamination procedures are done at the salon and are usually called “gloss treatments”. The problem with gloss treatments though is that they’re very expensive and they also use a lot of chemicals. This DIY hair lamination mask uses only gelatin (the kind you buy at the store, Knox for example) and coconut oil (or any other oil will work just as well!).
This step by step tutorial will show you exactly how to do the hair lamination method and get amazing results.
DIY Hair Lamination AKA Gelatin Hair Mask

The key ingredient is gelatin, which contains proteins from the collagen that is extracted from animals. Sounds gross yes, but gelatin has been used for decades in a lot of different beauty DIYs, especially hair, nails, and skin.
After using the DIY hair lamination mask, you should notice smoother, shinier hair, but keep using it at least once a week over the course of a month to REALLY notice an insane difference. Over the course of a month, you’ll notice the hair structure changing from dry and brittle, to shiny and soft.
The lamination method can be done on any type of hair from natural and curly, to thick and coarse, and thin and fine.
You’ll Need:
- 1/2 cup hot water
- 1 packet Knox unflavored gelatin
- 1 tbsp coconut oil, olive oil, or a carrier oil of your choice
- shower cap
- warm towel
Directions:
- Heat the water in the microwave or on the stove top just until boiling.
- Add your gelatin to the warm water and stir well until dissolved. Stir quickly before the gelatin solidified.
- Add the oil of your choice and stir again.
- Apply the mask to dry hair while it’s still warm (don’t wait too long), otherwise your gelatin will solidify and you’ll have to start all over again. Ensure that you are covering the hair completely.
- Concentrate especially on ends and saturate hair well.
- Cover your head with a wet, warm towel and leave on for at least 20 minutes, but we recommend a good 30 minutes.
- Once time is up, remove the lamination mask by gently washing the hair with a mild shampoo. Follow up with your favorite conditioner.
- Blow dry and see the difference!

Because this treatment contains only natural ingredients, you can use it as often as you need to. If you have really dry, damaged hair, you can use it 2-3 times a week.
If you like this post, don’t forget to share 🙂

Any gelatin alternative for vegans 🙁
Hi Amy,
You can use agar agar, which you should be able to find at health food stores or online. It’s 100% vegan and it made from red algae. To substitute it, simply use an equal ratio.